
Email: [email protected]

 English
 español
Industry News
HOME / NEWS / Industry News / Build a Garden Tool Organizer: Step-by-Step Storage Ideas for Your Backyard
HOME > NEWS > Industry News > Build a Garden Tool Organizer: Step-by-Step Storage Ideas for Your Backyard
Build a Garden Tool Organizer: Step-by-Step Storage Ideas for Your Backyard
 2026.11.16
 Industry News
A garden tool organizer works best when it follows the way you actually garden. A tidy wall rack may look wonderful in a magazine, but if your tools travel from the shed to the raised beds and back again, a portable bag or a wheeled station will save you far more time. The goal is simple: keep every tool visible, dry, and easy to reach, without creating a system that is too precious to use with muddy hands.
We have spent years making and testing tool bags, and the lesson we keep coming back to is that good storage is built around a few honest habits. You need a place for long handles, a place for small hand tools, and a way to move the whole setup when the job changes. The plan below shows how to build a garden tool organizer from basic materials, with options for ready-made bags where they make more sense than another wooden shelf.
Start with a Tool Audit, Not a Shopping List
Before you buy timber, hooks, or a new bag, take every garden tool out of the shed and lay it on a sheet. Sort it into groups: long-handled tools, digging tools, cutting tools, small hand tools, and seasonal supplies. This audit tells you what the organizer must hold and how much weight it needs to carry.
- Measure the longest handle, including the head, so the rack or bag can accommodate it.
- Weigh the heaviest tool or tool group; a full bucket of hand tools is heavier than most people expect.
- Note which tools are used weekly and which appear only in spring or autumn.
- Identify tools that must stay dry, such as pruning shears, spare blades, and bags of seed.
- Decide whether the organizer stays in one place or moves around the garden.
Once you know the answers, you can choose a design that fits the workload. A small courtyard may need only a wall hook and a hand-tool tote. A larger plot with hedges, beds, and a greenhouse usually benefits from a mix of fixed storage and a mobile kit.
Choose the Right Base: Wall Rack, Cart, or Portable Bag
There is no single best garden tool organizer. The right choice depends on your space, your tools, and how often you move them. The table below compares the three most practical starting points.
| Organizer type | Best for | Strengths | Watch-outs |
|---|---|---|---|
| Wall rack | Long-handled tools in a shed or garage | Keeps handles off the floor and makes tools visible | Needs solid fixings and enough wall height |
| Mobile cart or rolling bag | Large gardens and jobs that move between beds | Carries weight and reduces repeated trips | Wheels need a firm path and a dry parking spot |
| Portable tote or waist bag | Hand tools, seeds, twine, and quick repairs | Keeps small items close to the body | Must be emptied and cleaned regularly |
Many gardeners end up with a hybrid: a wall rack for forks, spades, and rakes, plus a portable bag for the tools that follow them around. That combination is usually more useful than one large cabinet. If you are unsure whether a bag or a backpack suits your routine, this comparison of tool bag versus tool backpack is a helpful starting point.
Build a Simple Wall Rack for Long-Handled Tools
A wall rack is the anchor of most garden tool organizers. It does not need to be complicated. A horizontal rail with sturdy hooks, a shallow shelf above it, and a bucket for small items will hold a surprising amount. Use pressure-treated timber or cedar if the rack sits in a damp shed, and choose exterior-grade screws and hooks that will not rust.
Materials and basic layout
- Two horizontal rails, each long enough to span the tool collection with space between hooks.
- Exterior wood screws, wall anchors, and a stud finder if you are fixing to a stud wall.
- Heavy-duty hooks or double-prong hooks for forks, spades, rakes, and hoes.
- A shallow shelf for gloves, twine, labels, and a small brush.
- Optional PVC pipe sections or a deep bucket for short-handled tools.
Step-by-step build
- Mark the wall at a comfortable height, usually just above shoulder level for the top rail and lower for heavier tools.
- Locate the studs, then fix the rails with screws long enough to carry the weight of a full rack.
- Space hooks according to the widest tool heads, leaving room to lift each tool clear without knocking its neighbours.
- Mount the shelf above the rails for light supplies, or add a lidded box if the shed is dusty.
- Hang the heaviest tools nearest the fixing points, then test the rack by gently pulling down on each hook.
- Add a simple floor stand or a bucket for short tools so they do not end up in a loose pile.
If you are building with reclaimed pallet wood, sand the edges and seal the timber before bringing it into a damp shed. The rack should feel solid, not decorative. A garden tool organizer that wobbles when you grab a spade will soon be avoided.
Create a Grab-and-Go Tote or Bag System
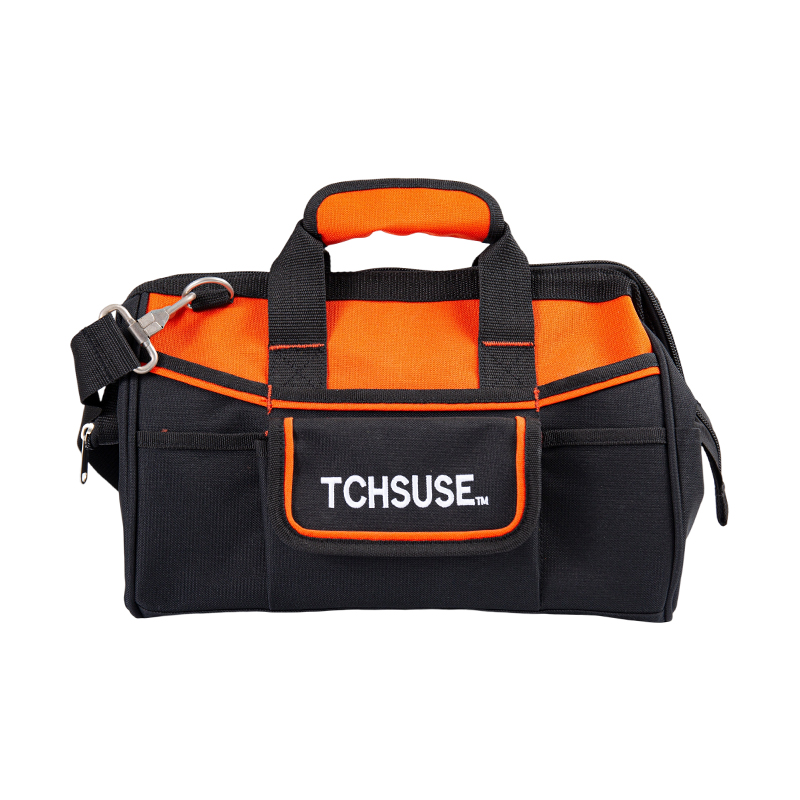
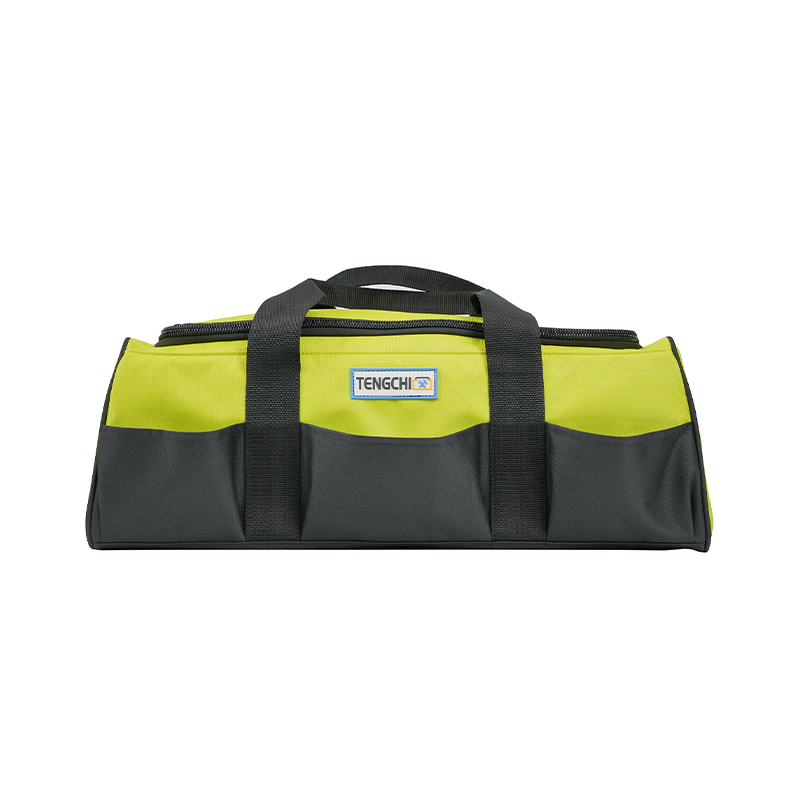
Wall storage handles the long tools, but the work of planting, pruning, and repairing usually happens away from the wall. A grab-and-go bag solves that gap. Choose a bag with a wide opening, a reinforced base, and enough external pockets to separate clean items from muddy ones. A plastic-bottom bag is especially useful in gardens because it can be set down on damp grass or paving without soaking the contents.
For a flexible base, our multi-purpose tool bags come in several layouts and sizes, so you can match the bag to the tools you carry most often. Look for a model with a pocket for secateurs, a loop for gloves, and a main compartment that is easy to wipe out.
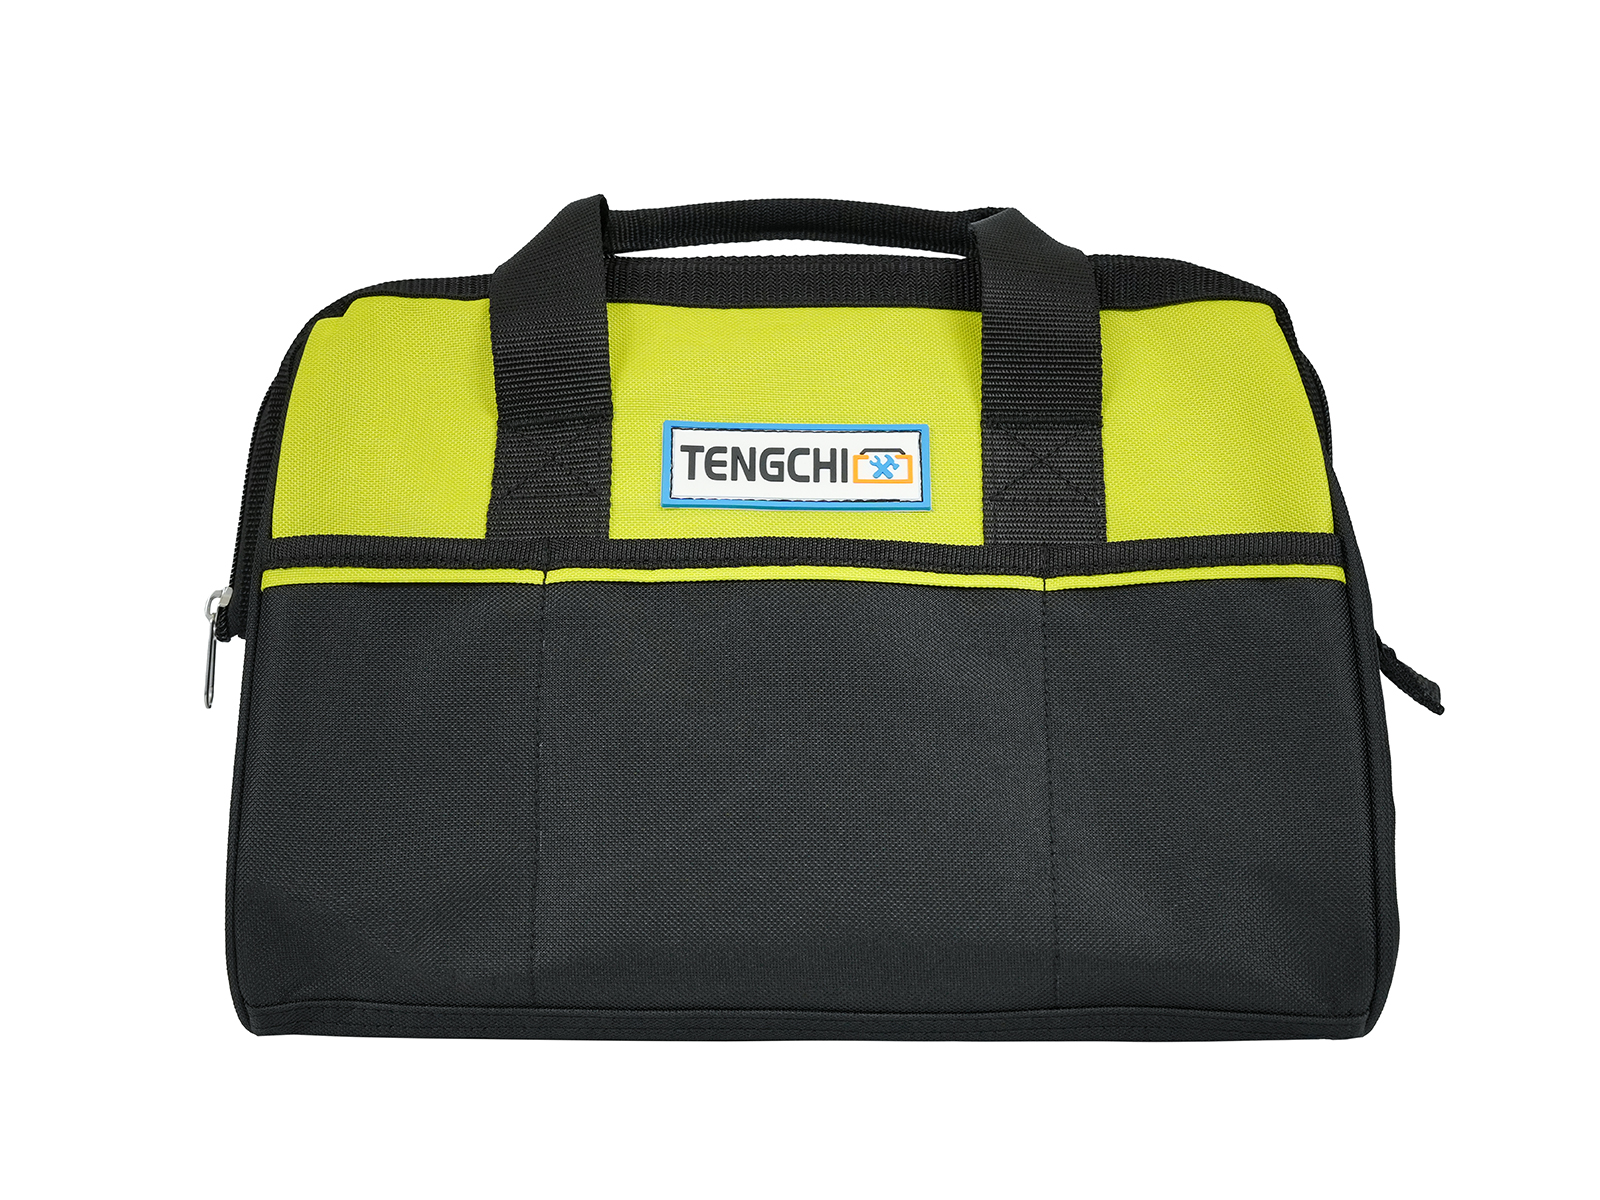
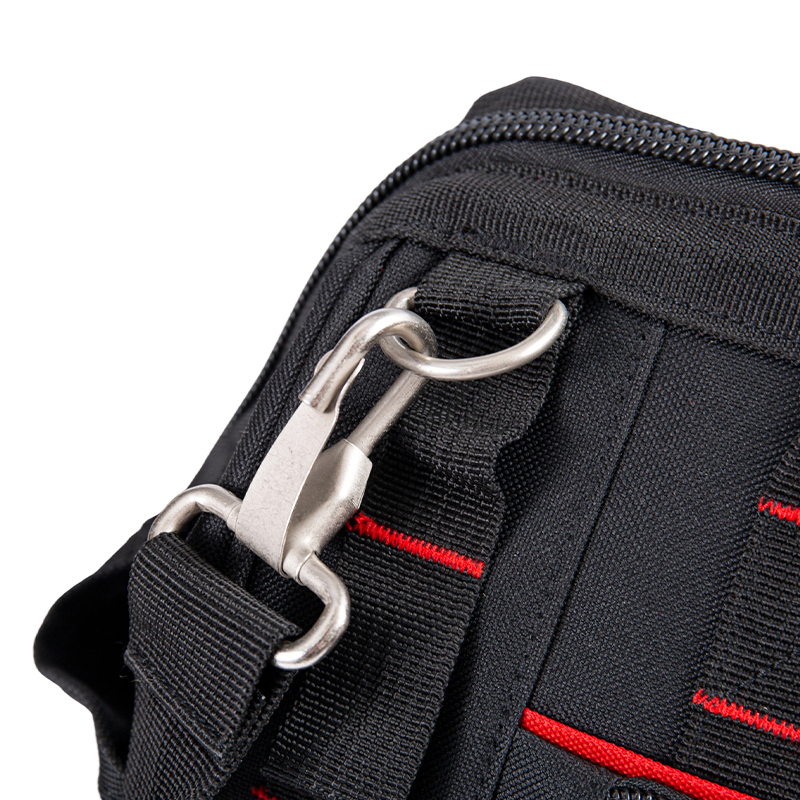 Plastic-Bottom Multi-Function Tool Bag in 17-Inch and 18-Inch SizesA flexible base option for matching layout and size to daily tools, with 600D Oxford cloth, a sturdy plastic bottom, and multiple pockets.View Product →
Fill the bag with a core kit: hand trowel, fork, pruning shears, twine, plant labels, a small brush, and a waterproof notebook. Keep the bag light enough to carry with one hand and hang it from a hook when you return to the shed. A bag that is too large becomes a portable junk drawer; a bag that is too small sends you back for tools every ten minutes.
Add a Waist Bag for Small Hand Tools
Some tools are needed so often that they should never leave your side. A waist bag is a practical addition to a larger garden tool organizer because it keeps secateurs, twine, labels, and a small knife within reach while both hands stay free. It also keeps sharp tools away from loose pockets and prevents small items from disappearing into the bottom of a tote.
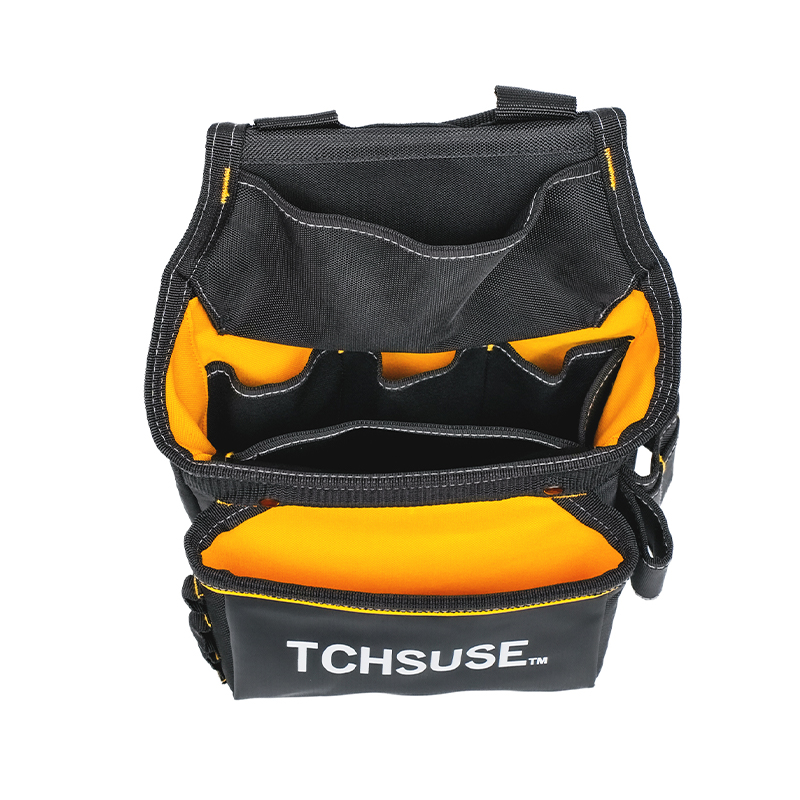 600D Oxford Cloth Waist Tool Bag for Construction WorkKeeps secateurs, twine, labels, and a small knife within reach while hands stay free, using wear-resistant, water-repellent 600D Oxford cloth.View Product →
Use the waist bag for the tools you touch every few minutes, and reserve the main tote for items you need once per bed. This simple split reduces weight and makes the whole system easier to maintain. Empty the waist bag at the end of each session, wipe the inside, and return it to the same hook so it is ready for the next morning.
Make a Mobile Garden Tool Station
For larger gardens, a mobile station can turn a collection of bags into a working system. A rolling tool bag or a small cart gives you a stable base for heavy hand tools, a tray of seed packets, and a bin for weeds. The advantage is not just less carrying; it is fewer forgotten tools at the end of a row.
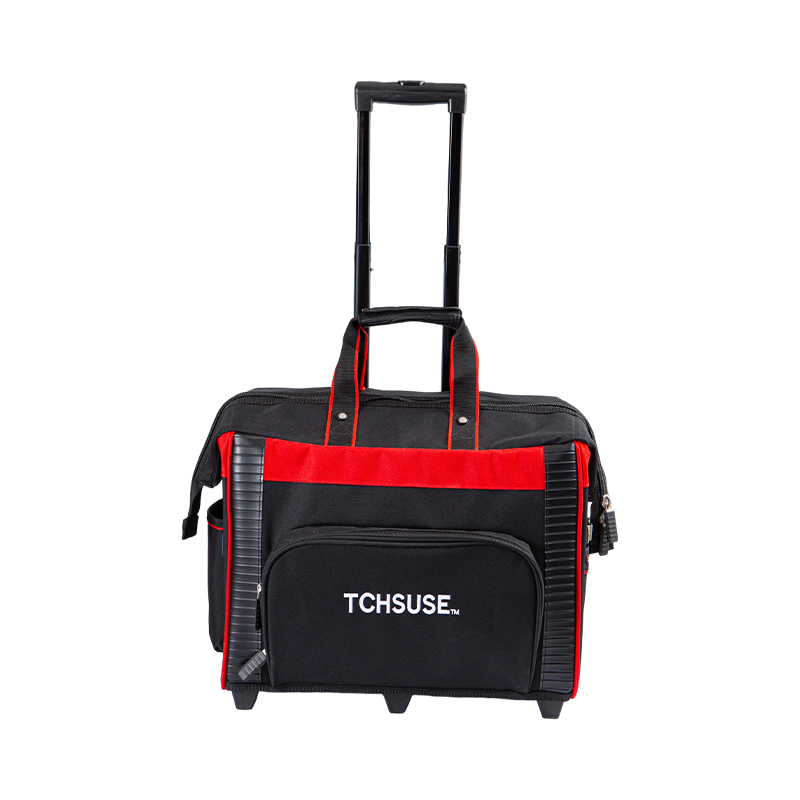
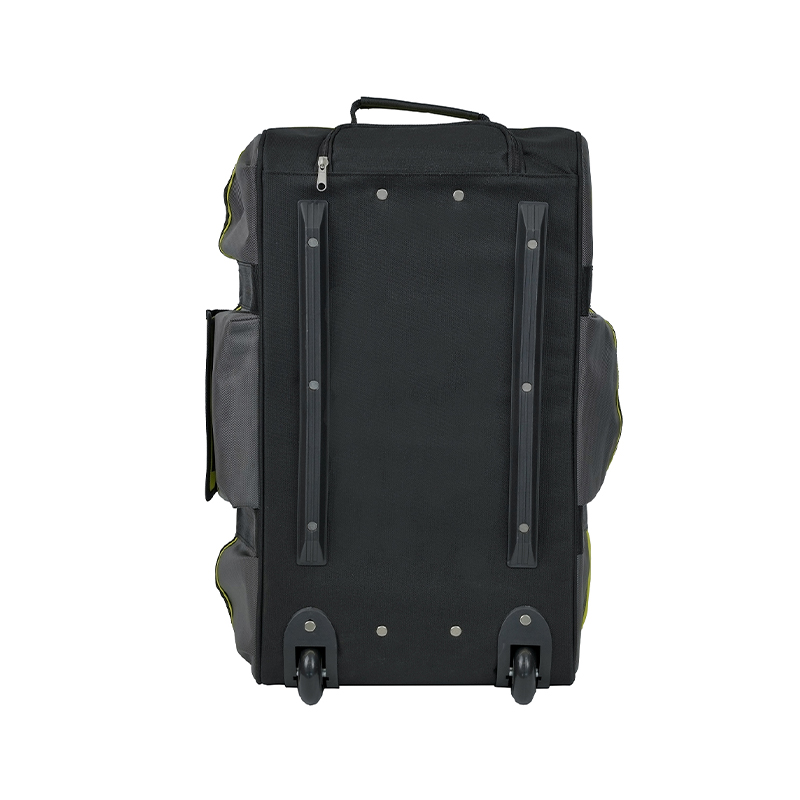 18-Inch and 22-Inch Trolley Tool Bag for Large-Capacity TransportA mobile base for larger garden setups, with a trolley-style carrying system, spacious tool storage, and reinforced fabric and base for heavy-duty use.View Product →
Build the station around three zones. The top zone holds frequently used hand tools in open pockets. The middle zone carries gloves, twine, labels, and a small first-aid kit. The lower zone holds heavier items or a bag for harvested produce and weeds. Keep the heaviest load low and centered so the bag or cart rolls smoothly over grass and gravel.
- Park the station in the shade when not in use to protect handles and fabric from prolonged sun.
- Use a small lidded box for loose seed packets and plant ties.
- Hang a lightweight bag for waste so the work area stays clear.
- Check wheels and handles at the start of each season, not after they fail mid-job.
Protect the Organizer from Weather and Wear
Garden storage lives in a tough environment. Damp sheds, dusty floors, and sudden rain will test any organizer. A little protection at the build stage makes a big difference later. Seal wooden rails with an exterior finish, use galvanized or coated hooks, and raise bags or boxes slightly off a concrete floor that stays wet.
- Keep metal blades dry and lightly oiled; do not store them against damp fabric.
- Leave space behind wall racks for air to move, reducing condensation.
- Use a lidded container for gloves, twine, and seed packets that mice may find attractive.
- Check the base of any bag for grit after a muddy session and brush it clean before storage.
- Store fuel, chemicals, and animal feed separately from hand tools and planting supplies.
A garden tool organizer does not need to be sealed like a cabinet, but it should be easy to clean. A few minutes with a brush and a dry cloth at the end of a session will do more for tool life than an elaborate cover that is awkward to remove.
Label, Maintain, and Adjust the System
The final step is the one most people skip: making the organizer self-explaining. Labels help family members put tools back correctly, and a simple maintenance routine keeps the storage from becoming clutter again. The system should adapt as your garden changes, not become a fixed monument to one season's tools.
- Label hooks and pockets by tool group rather than by individual tool.
- Set a ten-minute monthly check for loose hooks, worn handles, and bags that have become too heavy.
- Move seasonal items to a higher shelf or a closed box at the end of their season.
- Repair torn pockets and worn bases promptly; small failures invite bigger ones.
- Review the layout at the start of spring and remove tools you no longer use.
As a tool bag manufacturer, we see how often storage fails for a simple reason: the organizer was designed for the photograph, not for a tired gardener at the end of the day. Build around reach, weight, and weather, and the result will be genuinely useful.
A good garden tool organizer is part rack, part bag, and part habit. Start with an honest audit, choose a base that suits your space, and build the fixed storage first. Then add a portable tote, a waist bag, or a rolling station for the work that moves. Keep the system light enough to use, strong enough to trust, and simple enough to maintain. When every tool has a clear home, the garden gets more of your time and the shed stays a place you can walk into without stepping over a pile of handles.
Related Products

Yancheng Tengchi Tourism Products Co., Ltd. It is dedicated to
designing and producing high-quality tool bags, including
heavy-duty electrician bags.
Experienced staff and experts are always available to provide
you with professional guidance and solutions to technical
problems.
- Product
- Tool Bag
- Tool Backpack
- Capabilities
- Capabilities
- Custom
- About US
- About Tengchi
- Certification
- Quick Connect
- Custom
- Capabilities
- Contact


