
Email: [email protected]

 English
 español
Industry News
HOME / NEWS / Industry News / How to Build a Garden Tool Rack: A Practical Step-by-Step Guide for a Tidy Shed
HOME > NEWS > Industry News > How to Build a Garden Tool Rack: A Practical Step-by-Step Guide for a Tidy Shed
How to Build a Garden Tool Rack: A Practical Step-by-Step Guide for a Tidy Shed
 2026.11.19
 Industry News
Every garden reaches a point where the tools outgrow the corner they were dropped in. Forks lean against the shed door, rakes vanish under the bench, and the hoe you need is always wedged behind something heavier. A garden tool rack solves most of that in a single afternoon, and the materials usually cost less than one replacement pair of secateurs.
We spend our working days designing tool bags and backpacks, so we have had plenty of chances to watch how people really store their kit. The lesson that keeps repeating is simple: tools stay usable when they are visible, dry, and reachable at waist or shoulder height. A wall rack takes care of the long-handled tools, while a bag takes care of everything small enough to disappear. Plan both together and the shed stays workable right through the season.
Plan the Rack Around the Tools You Actually Own
Before cutting a single length of timber, walk the garden with a notebook and sort your tools into groups. Most collections break down into four:
- Long-handled tools such as forks, spades, rakes, hoes and brooms need vertical slots or a rail with a wide enough gap for the head.
- Short-handled tools such as trowels, hand forks, dibbers and weeders are small, cheap to lose and worth keeping in one place.
- Cutting tools including secateurs, loppers, shears and pruning saws need protected edges, so they should never knock against each other.
- Bulky items such as watering cans, plant pots, compost sacks and hose reels usually belong on a shelf or the floor, not on a hook.
Next, weigh the long-handled group. Wet clay clinging to a spade head can add a couple of kilos, and a rack that starts to sag in its first week is a rack you will quietly stop using. The second decision is location. An inside shed wall stays dry but eats no floor space; an outside fence is handy for quick jobs but needs treated timber and a bit of thought about driving rain.
| Rack layout | Best location | Floor space used | Build level |
|---|---|---|---|
| Wall rail with screw-in hooks | Inside shed or garage | None | Beginner |
| Slotted wall frame | Fence or brick wall outside | None | Beginner to intermediate |
| Freestanding A-frame | Open garden bed or greenhouse | About one square metre | Intermediate |
| Pallet upright rack | Workshop storage corner | Half a pallet footprint | Beginner with reclaimed wood |
Materials and Tools for a Simple Build
A wall-mounted rack for roughly fifteen tools does not need a workshop. This short shopping list covers it:
- Two lengths of treated timber, around 45 x 45 mm and 1.2 m long, for the horizontal rails
- Three or four vertical battens, 45 x 70 mm, cut to the height of your longest handle plus 20 cm
- Wood screws of 60 to 80 mm, plus two coach bolts or lag screws for each wall fixing
- A pack of screw-in hooks, U-shaped clips or short lengths of hose cut into loops
- Exterior stain, oil or paint, and a brush with a small tin of wood filler
For tools you will want a tape measure, a pencil, a handsaw, a drill with bits, a spirit level and a screwdriver. Sandpaper saves time on cut ends, and a folding step stool is worth dragging out before you start drilling above head height.
Build a Wall-Mounted Rack in Seven Steps
- Measure and mark the wall. Hold your longest tool against it and note where the handle tip and the head sit. The lower rail goes about 30 cm above the floor so heads clear the ground, and the upper rail sits roughly 40 cm below the highest hook.
- Find the studs. Tap along the wall or use a stud finder and mark every timber behind the plaster. Each wall fixing has to land on a stud or on solid masonry rather than on hollow plasterboard alone.
- Cut and finish the timber. Cut both rails and the battens to length, sand the ends, then treat every face including the back. Let the finish dry fully before assembly so the rack does not stick to your hands or trap damp.
- Pre-drill every joint. Clamp the battens to the rails, drill pilot holes, then drive the screws. Pilot holes stop 45 mm timber from splitting and keep the frame square.
- Assemble flat on the floor. Lay out two rails and three battens, put one screw through each crossing, and check the corners with a square. Working flat is far easier than wrestling pieces against a wall.
- Fix the frame to the wall. Two people make this quick: one holds the frame level while the other drives the lag screws into the marked studs. Recheck the level before the final screw goes in.
- Add hooks, clips and a top shelf. Space hooks 20 to 25 cm apart for long handles and closer together for hand tools. Finish with a narrow shelf on top for gloves, twine, labels and a spare pair of secateurs.
Details That Make the Rack Work Harder
Decide How Handles Hang, Then Stay Consistent
Hanging a fork head-up keeps the tines away from your boots, but it puts the weight at the top of the rack. Hanging head-down protects the cutting edge and puts the handle at grabbing height. Either method works; mixing them is what turns a tidy rack into a puzzle. Choose one and label the slots if more than one person uses the shed.
Drain Wet Tools Before They Go Back
A rack indoors will collect drips from spades and buckets after every rainy afternoon. Add a shallow drip tray under the bottom rail, or hang the outside rack over a gravel strip so water falls away from the wall. Steel rusts quietly, and a wooden rail that stays damp will stain and soften within a season.
Zone the Small Items That Fall Through
Gloves, twine, seed packets, plant labels and dibbers never sit happily on a hook. A fabric bag hung beside the rack catches all of it and keeps the shelf clear. The same logic applies to choosing between a bag and a backpack for hand tools, and our guide to storing tools in a bag versus a backpack walks through the trade-offs.
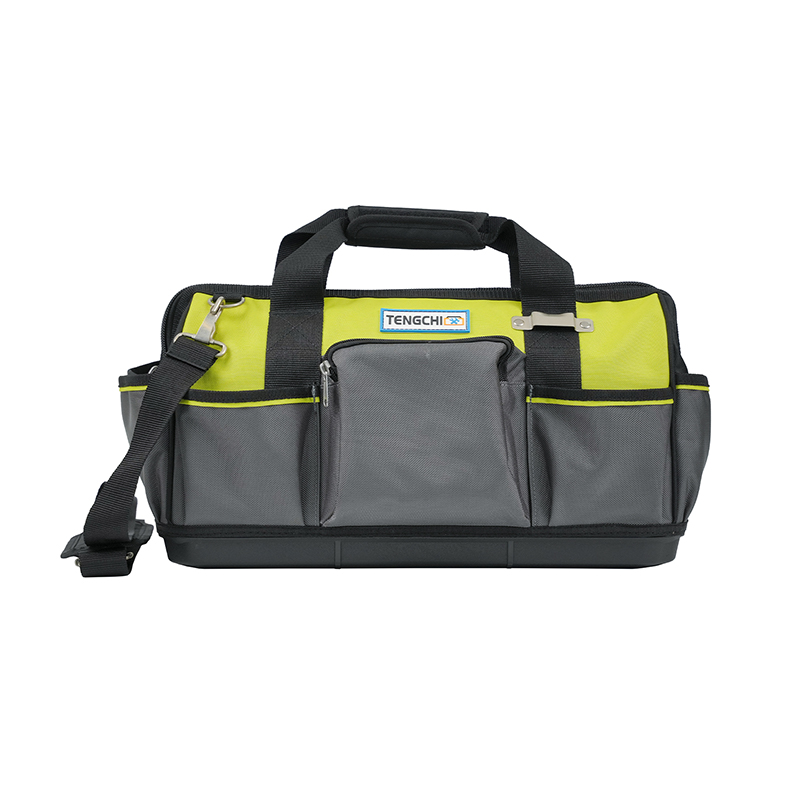
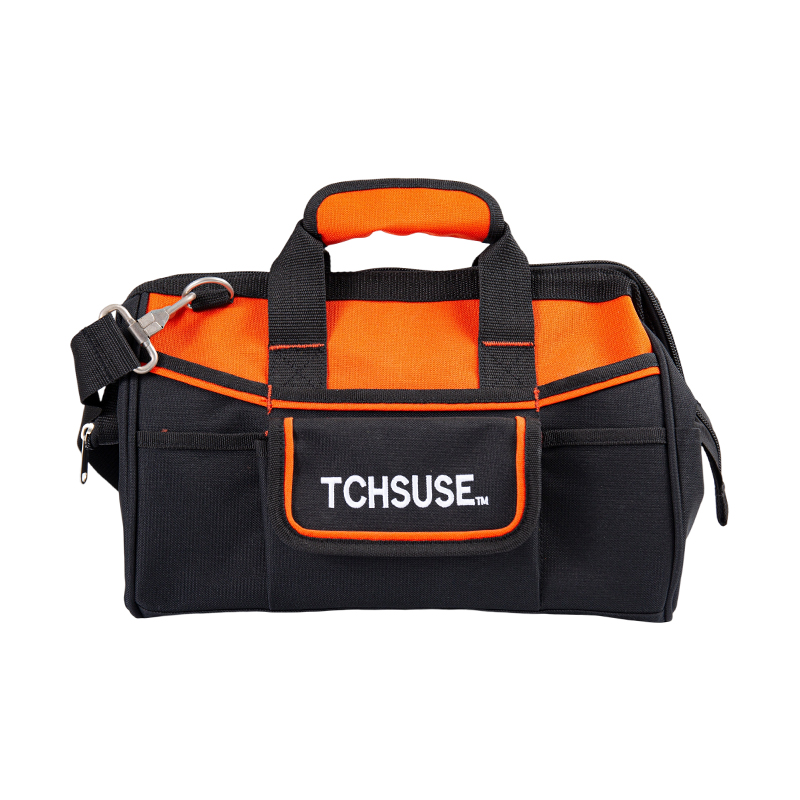
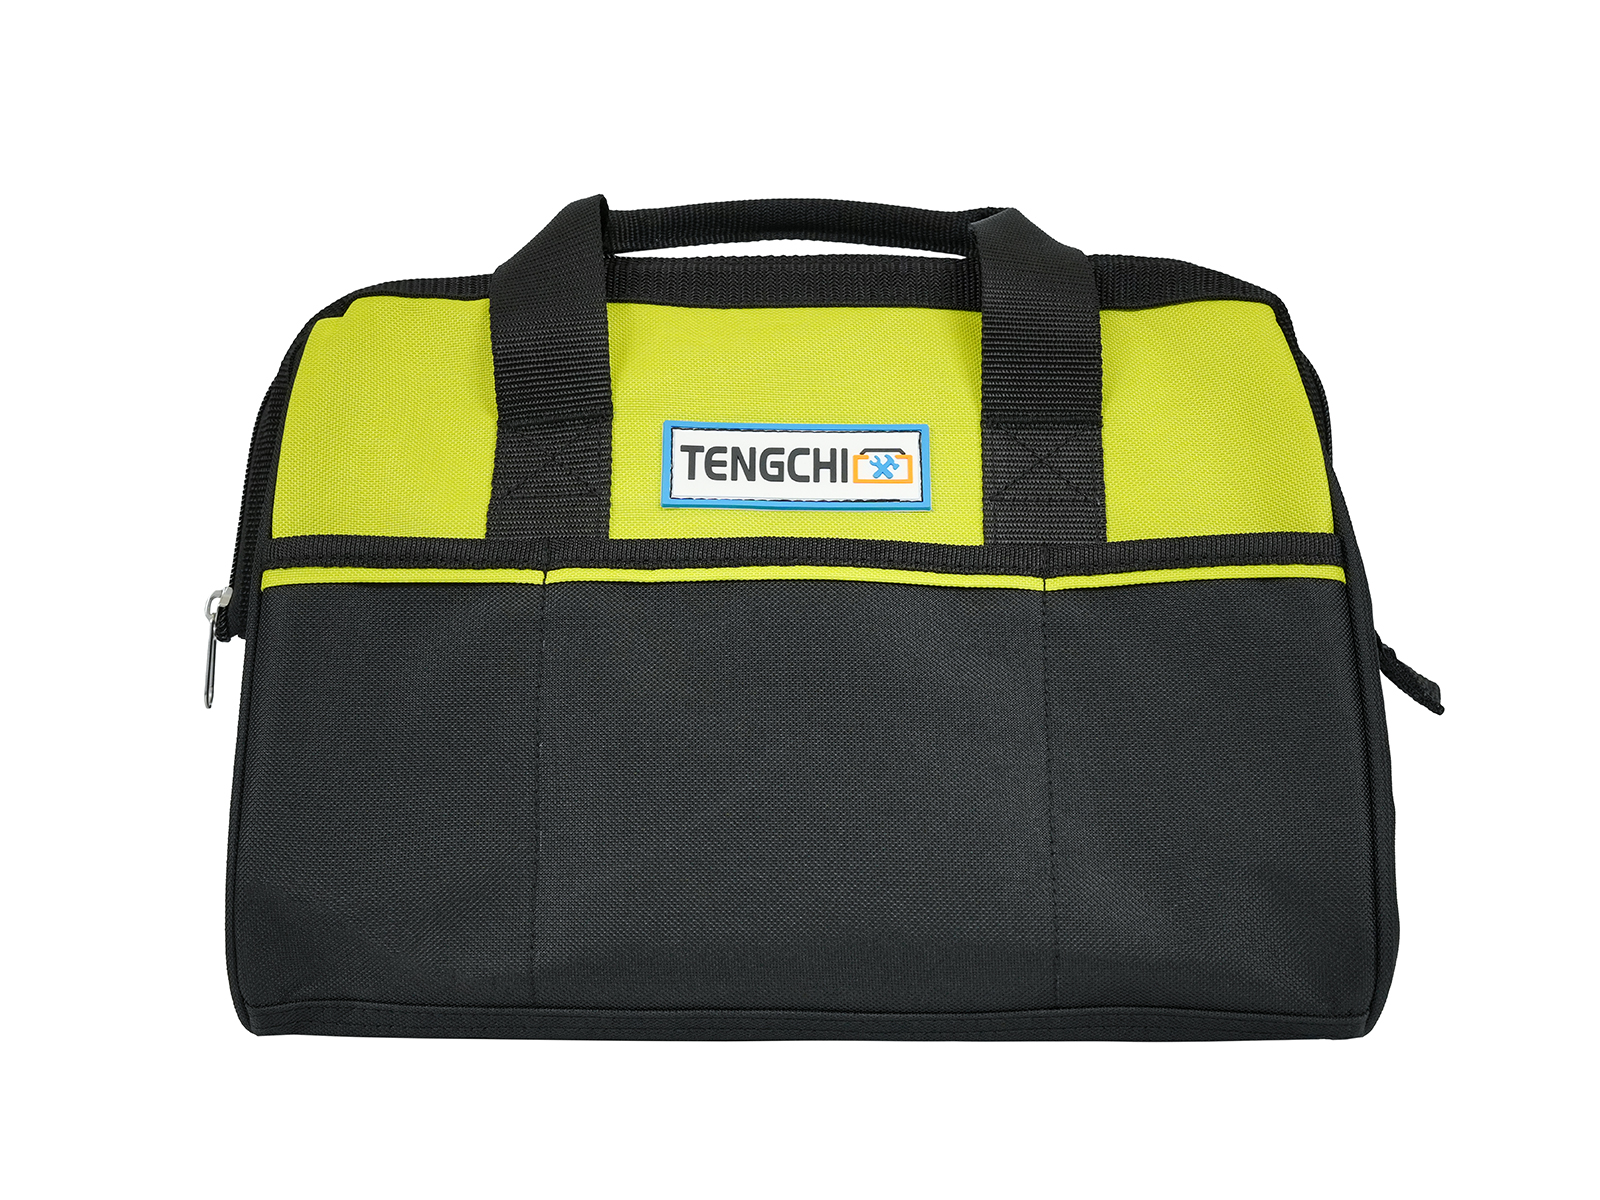
 14/16-Inch 600D Multi-Pocket Tool BagA 14- or 16-inch 600D Oxford bag with multiple pockets and a wide opening keeps hand tools and garden items together on a rack hook.View Product →
A multi-pocket bag with a wide opening hangs neatly from a hook at the end of the rack, so hand tools, gloves and a small flask stay together instead of migrating to the bench.
When the Rack Reaches Its Limit: Portable Storage
Some tools simply do not belong on a wall. Trowels, secateurs, twine and a harvest basket travel with you, and carrying them loose in a bucket is how handles get scratched. A quick-opening bag that stands open on the ground is the easiest answer for potting benches, raised beds and allotment plots.
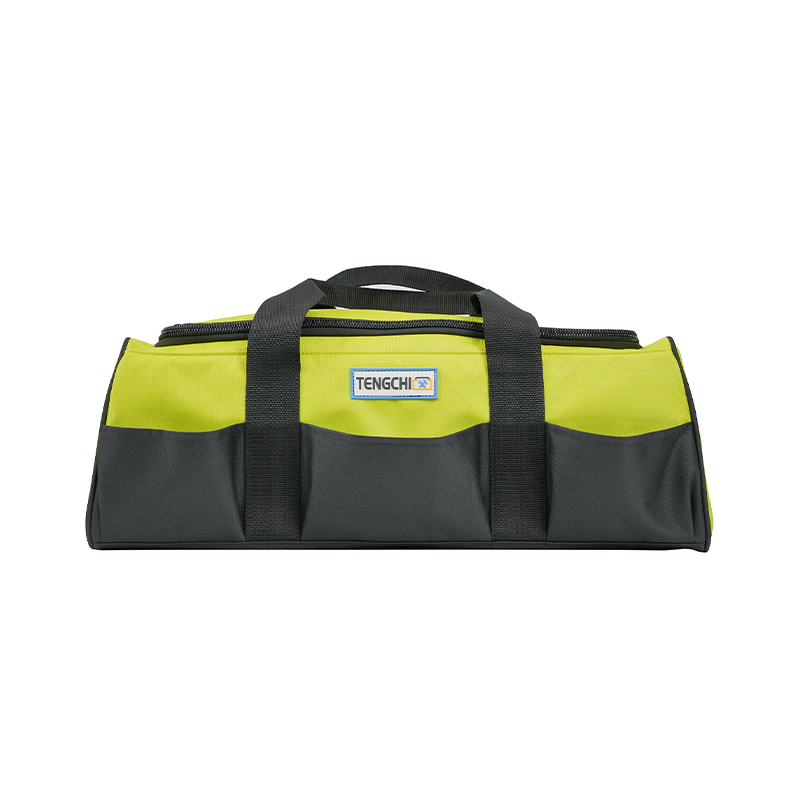
 14-Inch Quick-Opening Multi-Function Tool BagA compact 14-inch tool bag with a quick-open top and organized interior, useful for carrying hand tools to potting benches, raised beds and allotment plots.View Product →
For lighter days, a waist bag beats pockets every time. Pruning, weeding and picking all involve bending and reaching, and a waist bag keeps secateurs, twine and a phone within reach without a strap sliding off your shoulder.
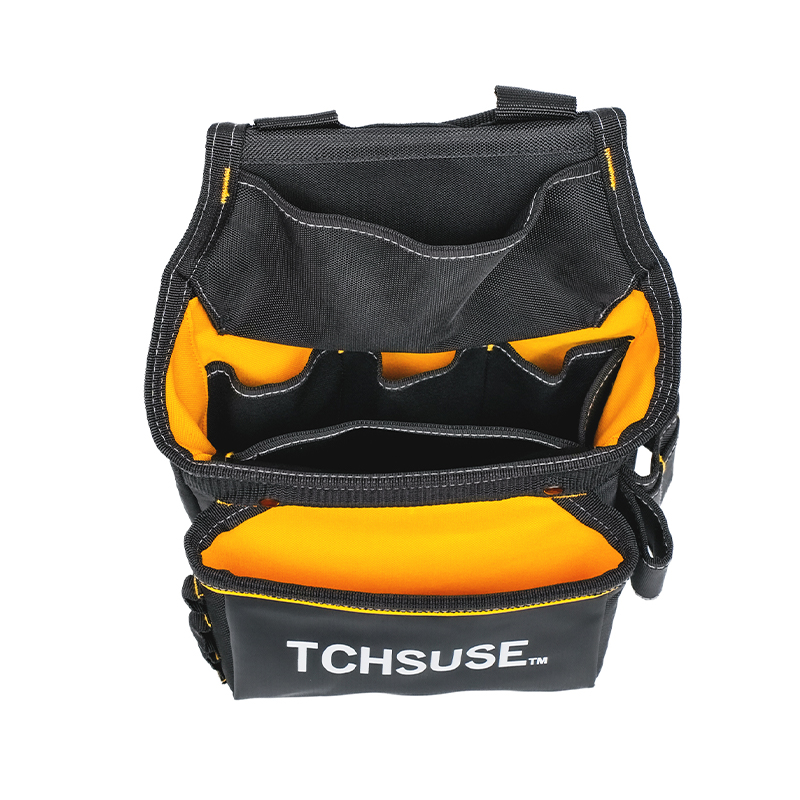 600D Oxford Cloth Worker Tool Waist BagA water-repellent 600D Oxford waist bag that keeps secateurs, twine and a phone within reach during pruning, weeding and picking.View Product →
If you are kitting out a whole team, it helps to look at storage as one system rather than a series of unrelated purchases. Our multipurpose tool bags are built around exactly that idea, with pocket layouts sized for the tools people actually carry rather than an imaginary set.
A garden tool rack is not a finished project the moment the last screw goes in. Give it a ten-minute check at the start of each season: tighten any hook that has worked loose, sand and re-oil a rail that has gone grey, and clear the slot that always collects cobwebs. Every few months, take everything down, wipe the metal, sharpen the edges and put back only what you genuinely used since the last check.
That habit is what keeps a simple timber frame useful for a decade. The build takes an afternoon, the maintenance takes almost nothing, and the reward is a shed where the right tool is the first thing your hand finds.

Yancheng Tengchi Tourism Products Co., Ltd. It is dedicated to
designing and producing high-quality tool bags, including
heavy-duty electrician bags.
Experienced staff and experts are always available to provide
you with professional guidance and solutions to technical
problems.
- Product
- Tool Bag
- Tool Backpack
- Capabilities
- Capabilities
- Custom
- About US
- About Tengchi
- Certification
- Quick Connect
- Custom
- Capabilities
- Contact


