
Email: [email protected]

 English
  español
Industry News
HOME / NEWS / Industry News / How to Organize Tools: Smart, Practical Storage Tips From a Tool Bag Maker
HOME > NEWS > Industry News > How to Organize Tools: Smart, Practical Storage Tips From a Tool Bag Maker
How to Organize Tools: Smart, Practical Storage Tips From a Tool Bag Maker
 2026.10.14
 Industry News
Walk into almost any workshop and you can tell within a minute whether the person working there has figured out how to organize tools, or is still living with a daily treasure hunt. We have been building tool bags since 2010, and we have watched customers solve this problem in garages, service vans, and full production shops. The lesson that keeps repeating is simple: the most expensive storage system is rarely the one that fixes the mess. A few deliberate decisions do. What follows is the same advice we give when someone asks us how to organize tools without tearing the whole workshop apart.
Sort Everything Before You Buy Anything
Organization starts on an empty floor, not in a shopping cart. Pull every tool out of the cupboard, the van, and the pile behind the door, and deal with the whole collection at once. Then split it into three piles: tools you actually use, tools you keep for one specific job, and tools that are broken, duplicated, or never touched. The third pile is usually bigger than anyone expects, and clearing it makes everything that follows easier.
- Group by task first, type second. If you are an electrician or a plumber, group the tools that appear together on the same job, such as strippers with crimpers or pipe cutters with deburring tools. For general DIY work, grouping screwdrivers with screwdrivers is perfectly fine.
- Separate daily tools from occasional tools. A hammer drill used twice a year should not occupy the same shelf space as the drill you reach for every morning.
- Build one small kit for the jobs you do away from the bench, so you stop reassembling the same handful of tools every weekend.
That last point matters more than it sounds. Most clutter is not caused by owning too many tools; it is caused by having the right tools in the wrong place at the wrong time.
Decide What Travels and What Stays Put
Before you buy a single hook, work out which tools leave the building. A bench plane, a grinder, and a vise will live their whole lives in one spot, and wall storage suits them perfectly. A drill, a level, and a socket set travel with you, which means they need a home that closes, carries, and protects them. We compared the two most common carry options in our guide to tool bags versus tool backpacks, and the short version is this: open bags are quicker to reach into, while backpacks are kinder to your shoulders once the load gets heavy. Choose based on how far you carry the tools, not on which one looks better on a shelf.
A Four-Zone Framework You Can Copy
Almost any workspace, whether it is a garage, a shed, a van, or a shop floor, can be divided into four zones. Once each tool belongs to a zone, the daily question of where something goes answers itself.
| Zone | What belongs there | Storage that works best |
|---|---|---|
| Immediate reach | The eight to twelve tools you touch every working day | Tool belt bag, waist pouch, or an open-top bag kept on the bench |
| Bench and wall | Tools used at a fixed spot: clamps, vise, measuring, soldering | Pegboard, magnetic rail, French cleats, shallow drawers |
| Job-to-job transport | Power tools, hand tools, and consumables that leave with you | Tool backpack, steel-handle bag, or rolling tool bag |
| Long-term storage | Seasonal tools, spares, and rarely used specialty items | Labeled bins, shelving, and dust covers |
The most common mistake with this framework is giving every tool the same treatment. Daily tools deserve the best spot in the room; seasonal tools can live under a shelf in a labeled bin. Sorting by how often you reach for something, rather than by category alone, is what keeps a workspace tidy long after the first enthusiastic weekend.
Choosing a Carrier That Fits the Load
Once you know what travels, the carrier becomes a practical question rather than a style one. Three details decide how a bag behaves over the years: the fabric, the base, and the opening.
Fabric and base
Fabric weight is measured in denier, and it is the clearest indicator of how a bag will wear. 600D oxford cloth handles everyday professional use well, while 1680D is noticeably tougher and holds its shape better when the bag is packed tight. A molded or plastic bottom keeps fabric off wet concrete and stops corners from fraying, so if you work outdoors or on unfinished floors, it is worth insisting on.
Hand-carried bags
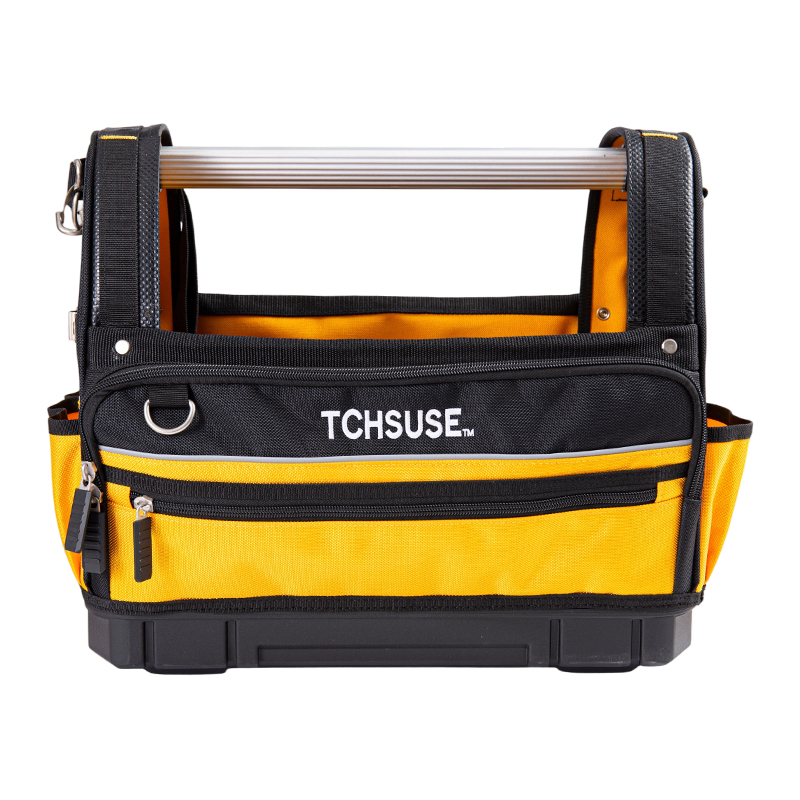
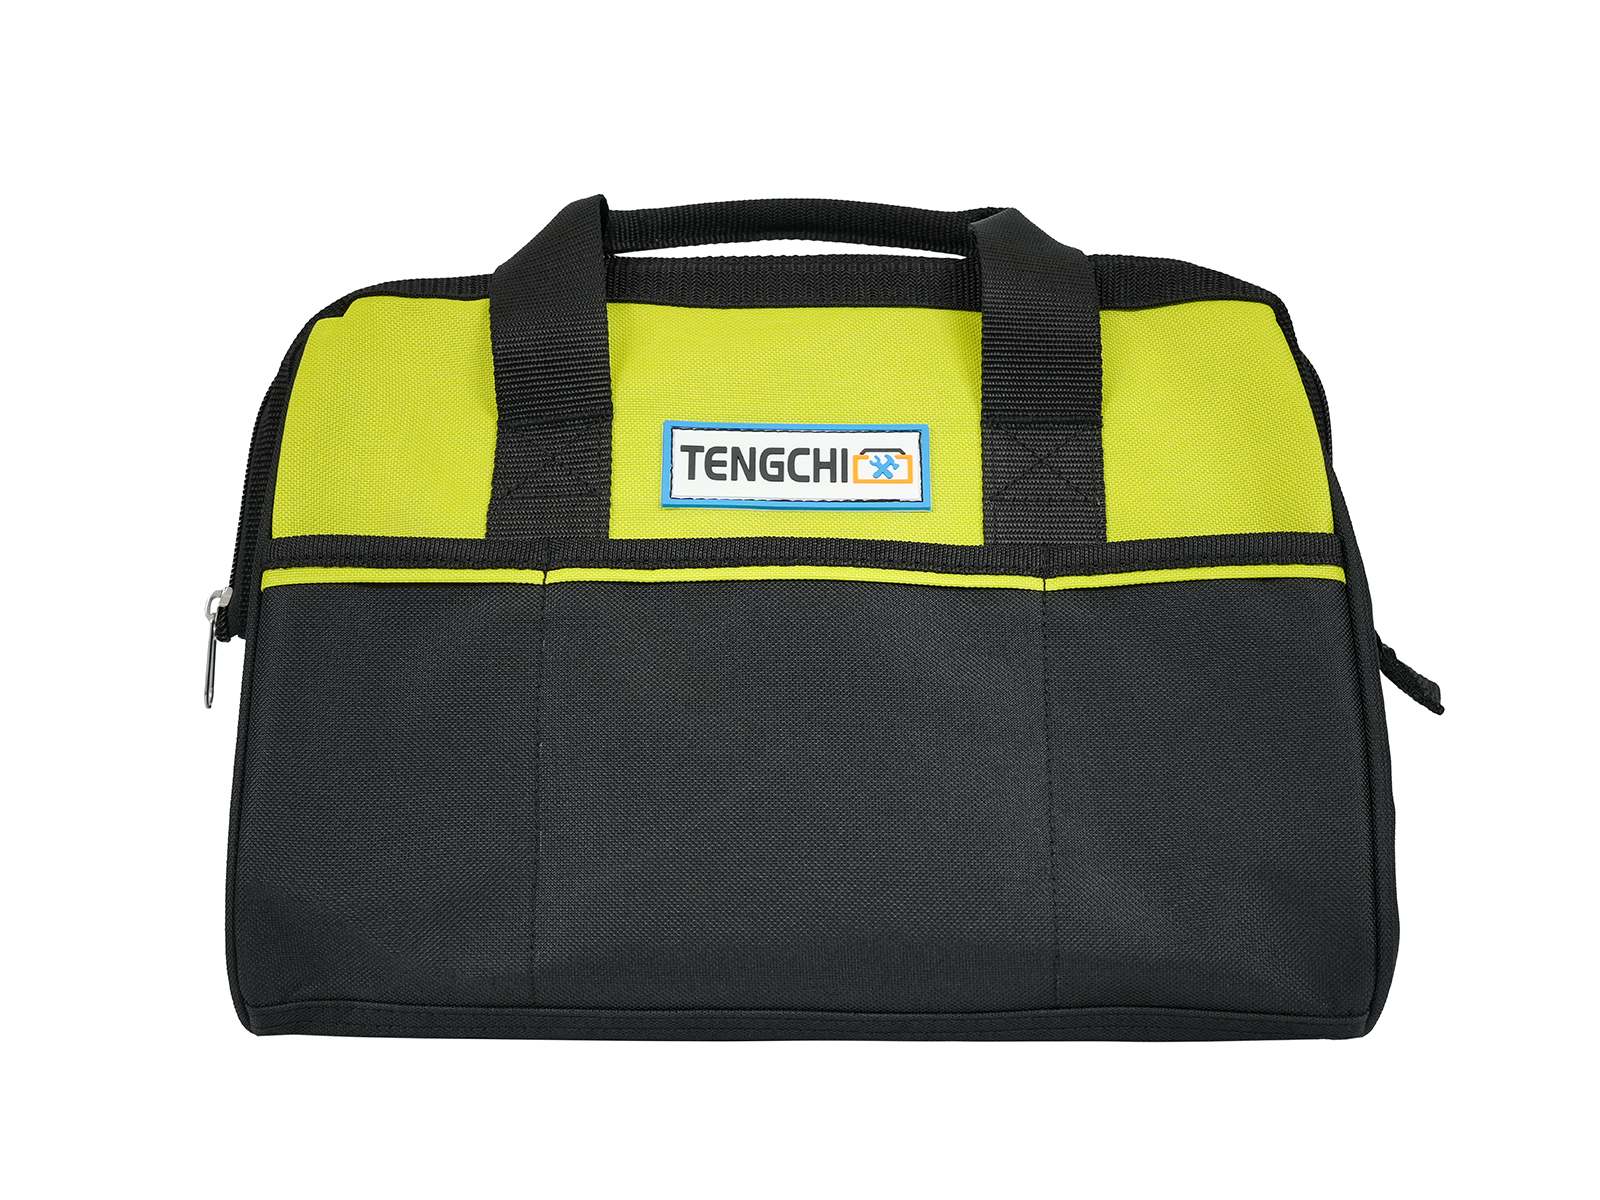
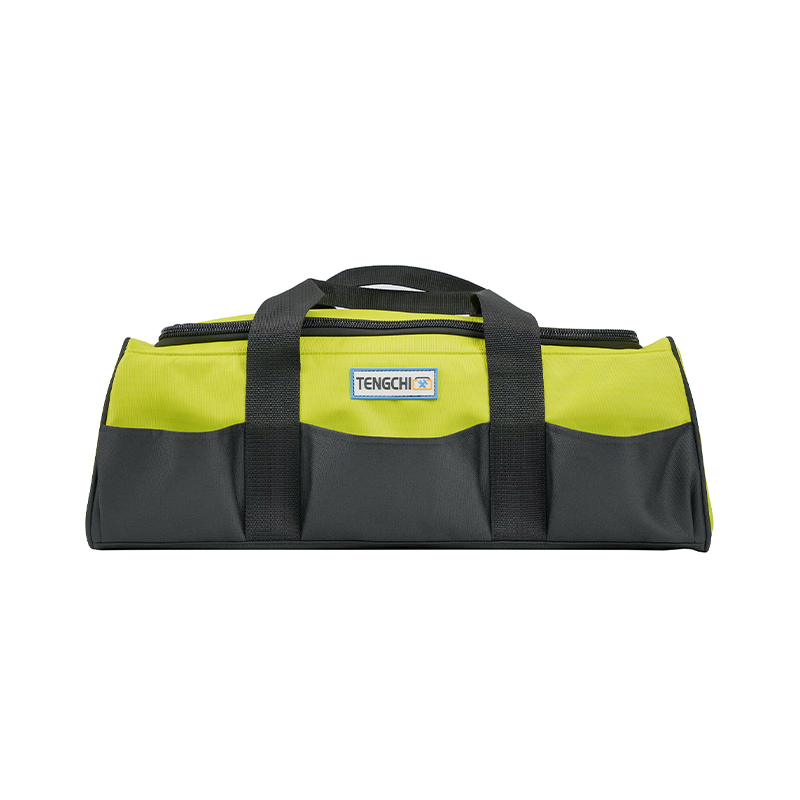
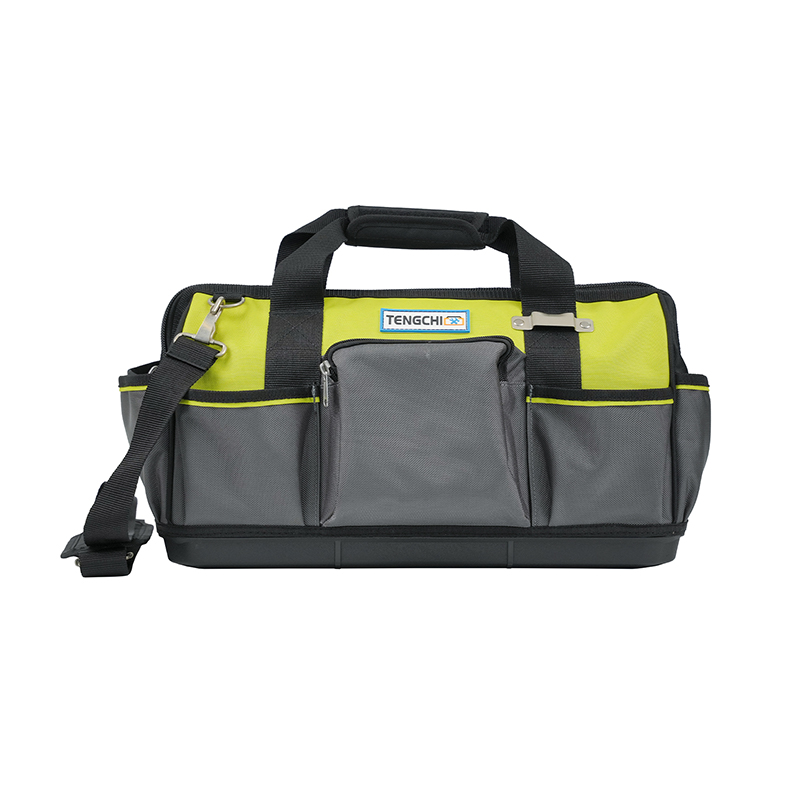
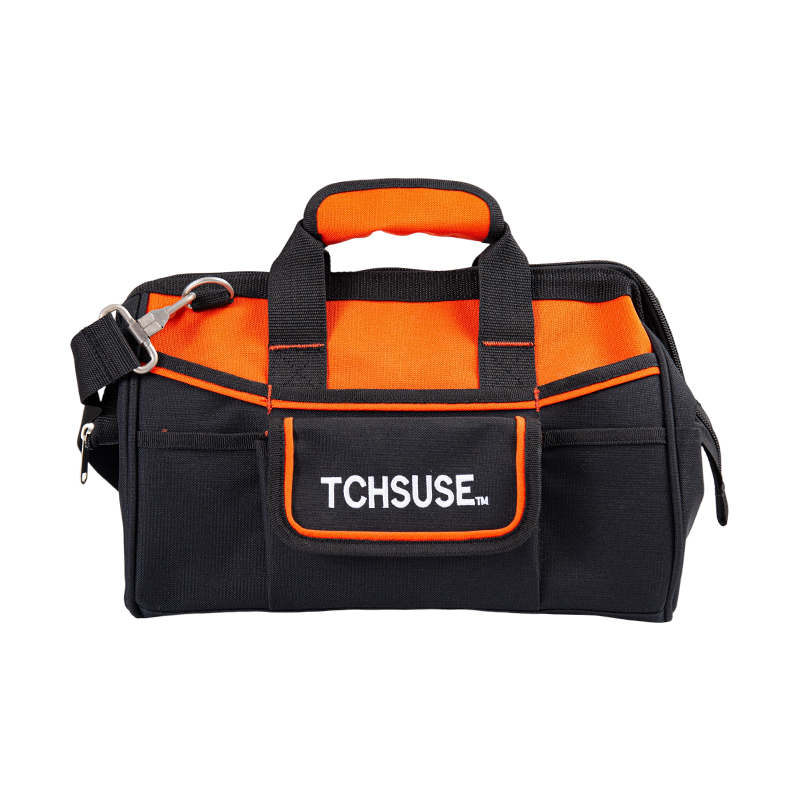
For maintenance work, a hand-carried bag is often the fastest option because the top stays open and you can see everything at once. Multi-pocket layouts work best when the pockets are sized around real tools rather than around a catalog photo. You can browse the full spread of sizes and layouts in our tool bag range, from compact 11-inch totes to 22-inch open-top bags.
 14-Inch/16-Inch 600D Multi-Pocket Tool BagFor maintenance work, this multi-pocket 600D bag keeps tools organized in 14-inch or 16-inch sizes, with layered pockets and water-resistant Oxford fabric.View Product →
Backpacks
When the walk from the van to the work area is long, a backpack wins. Weight sits on both shoulders instead of one, and your hands stay free for a ladder or a door handle. Look for a bag with a drawstring or zipped main opening, padded straps, and a reinforced base, since backpacks are often set down on gravel and concrete.
 14-Inch 1680D Plastic-Bottom Trolley Tool BackpackWaterproof plastic base, drawstring main opening, and retractable handle support either backpack carry or rolling transport for heavy tool loads.View Product →
Rolling cases
Above roughly 20 kilograms, wheels start paying for themselves. A rolling tool bag keeps heavy loads off your back entirely, and the larger sizes swallow long levels, pipe wrenches, and power tools in one trip. Check the handle height and wheel diameter before choosing a size, because a tall bag on small wheels is a nuisance on rough ground.
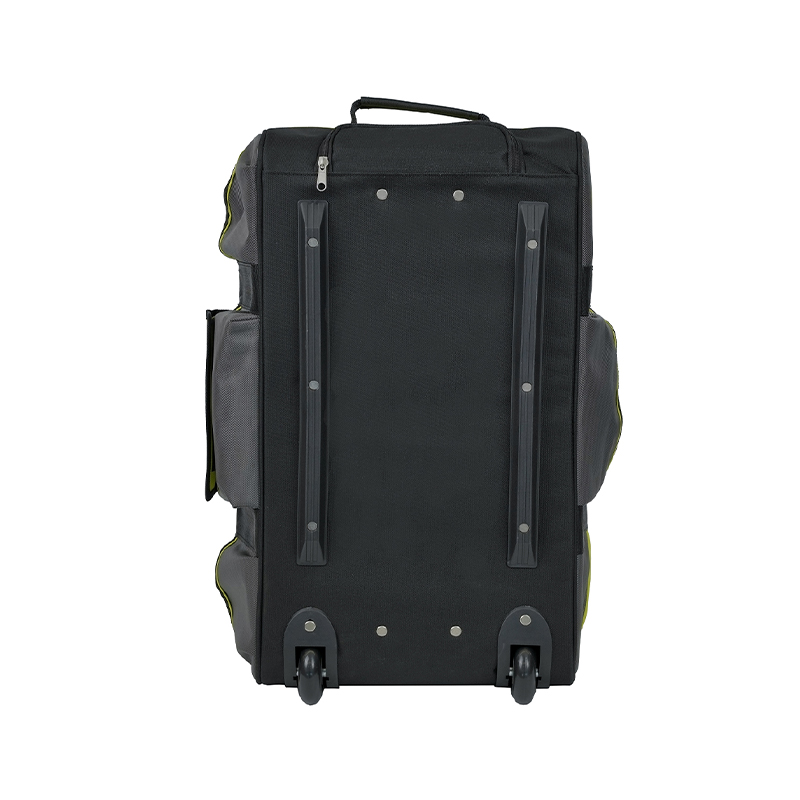 18-Inch/22-Inch Large-Capacity Trolley Tool BagRolling tool bag with spacious interior and reinforced base, designed to move hand tools and power equipment across flat surfaces and job sites.View Product →
Small Parts Are Their Own Problem
Screws, bits, fuses, and connectors are what turn a tidy bag into a bag of rattling gravel. They need their own system, and it is usually simpler than people expect.
- Give each category its own container, and keep containers to a size that fits the pockets you already own.
- Label the front of the container, not the lid, so you can read it while the box sits in a drawer or a bag pocket.
- Keep one small tray or pouch inside the bag for whatever is currently in use, and empty it back into the right container when the job ends.
- Refill at the end of the week rather than the start of a job, when you are already under time pressure.
Habits That Keep the System Alive
Storage only works if it survives contact with a busy week. These habits cost very little and make the biggest difference.
- Spend five minutes at the end of each day returning tools to their zones. Five minutes beats an hour of searching on Monday morning.
- Wipe metal surfaces with an oily cloth before they go back into a closed bag, especially in humid workshops where rust appears quietly.
- Do a full inventory once a year and repeat the three-pile sort. Collections grow, and so does clutter.
- Do not overstuff. A bag that will not close properly strains the stitching and hides the tools you actually need.
- Store damp tools separately. Water trapped inside a closed bag is the fastest way to ruin both the tools and the fabric.
Mistakes We See Most Often
- Buying storage before sorting, which is how two half-full tool bags end up on the same shelf.
- Organizing purely by tool type when the work is organized by task, so every job starts with a scavenger hunt.
- Giving occasional tools the same prime space as daily tools.
- Ignoring weight until the bag is full, then discovering the handle was never designed for it.
- Choosing a carrier by appearance rather than by fabric, base, and opening.
None of this requires a large budget or a bigger garage. Sort once, decide what travels, give every tool a zone, and choose a carrier that matches the load you actually carry. Do that, and the question of how to organize tools stops being a weekend project and becomes something you simply maintain. We build tool bags for professionals, so if you are weighing up fabric weights, base options, or pocket layouts for a specific trade, we are always happy to talk it through.

Yancheng Tengchi Tourism Products Co., Ltd. It is dedicated to
designing and producing high-quality tool bags, including
heavy-duty electrician bags.
Experienced staff and experts are always available to provide
you with professional guidance and solutions to technical
problems.
- Product
- Tool Bag
- Tool Backpack
- Capabilities
- Capabilities
- Custom
- About US
- About Tengchi
- Certification
- Quick Connect
- Custom
- Capabilities
- Contact



